Events Management
Click here to download the PDF desk aid for this topic.
Approved staff can enter event details for upcoming job fairs, workshops, and trainings.
Navigation
From the left-hand navigation menu, navigate to Admin Tasks > Admin > Events Management.
Privileges
Admin users can assign Events privileges to staff users in one of two ways:
To assign Events privileges to a new unapproved staff account:
-
Click Admin Tasks in the left navigation menu.
-
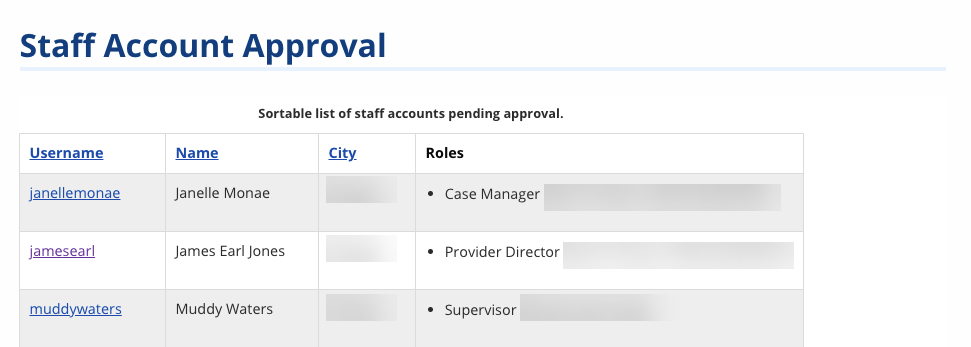
Click the ServiceLink tab, then select Staff Account Approval.
-
Select the username you want to approve.
-
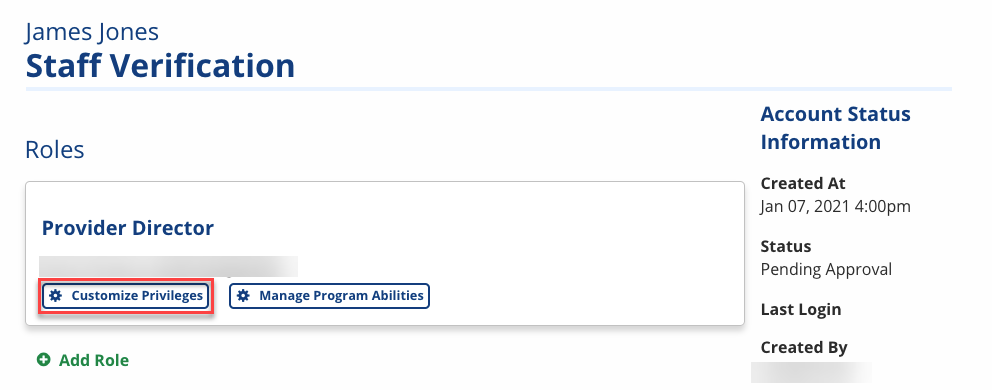
In the Staff Verification page, find the user's role in the Roles section and click Customize Privileges. The Customize Privileges page displays.
-
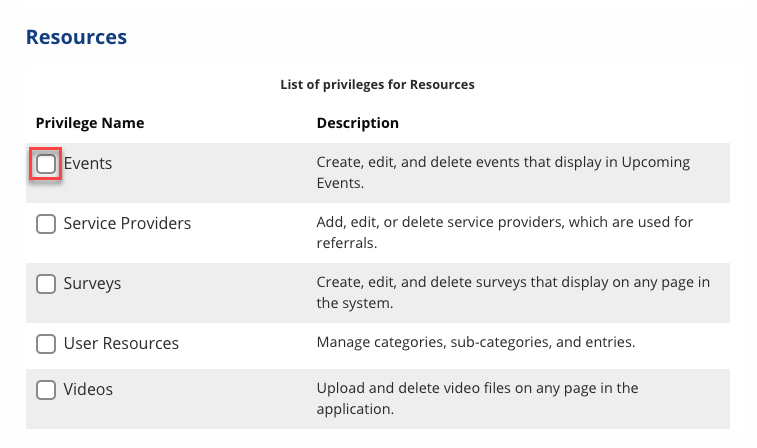
Scroll down to the Resources section, then check Events (along with any other privileges needed for the user). Click Save.
-
Once all other privileges and program abilities are set, click Approve.
To assign Events privileges to an existing staff account:
-
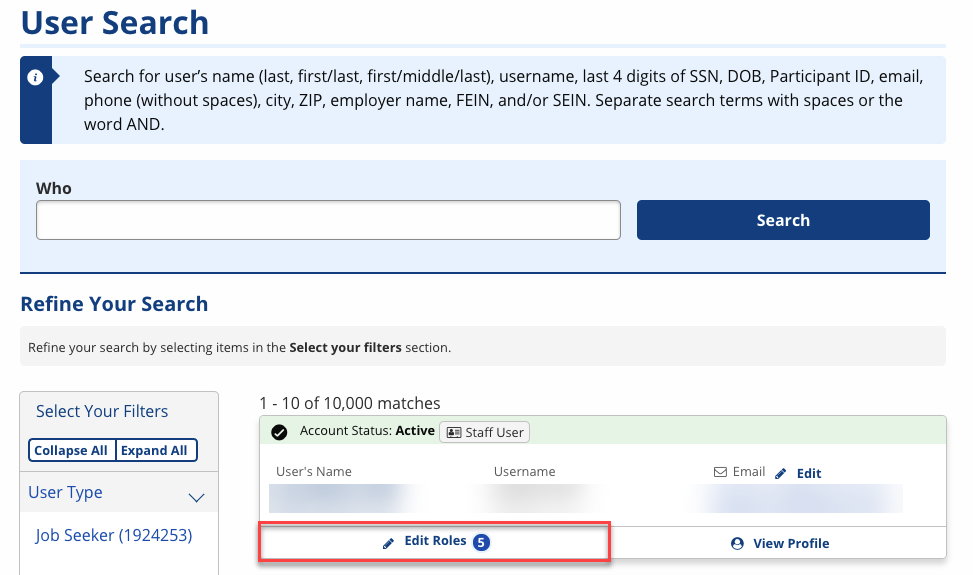
Click User Search in the left navigation menu.
-
Search for the staff user, then click Edit Roles.
-
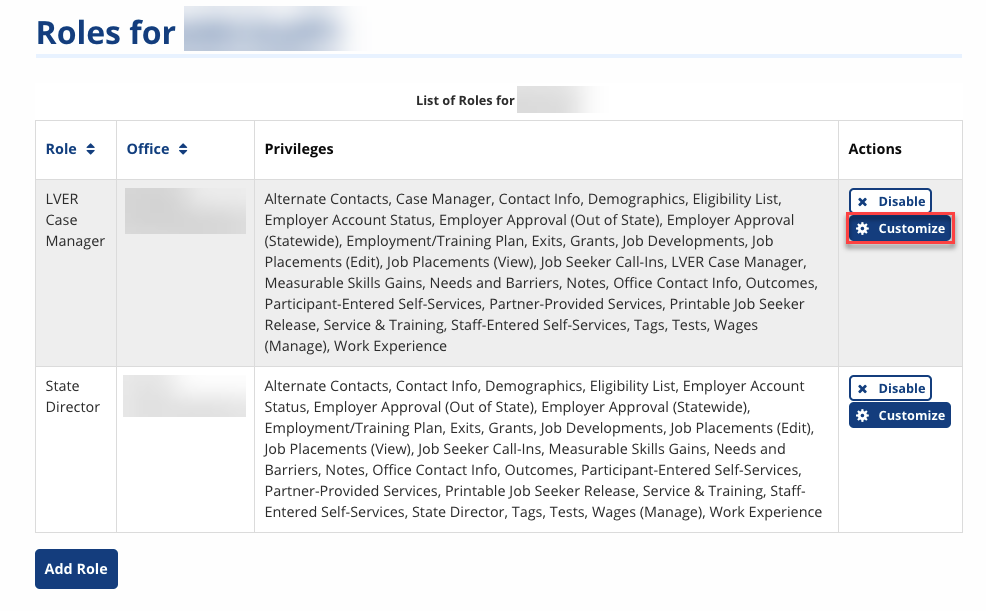
Find the role you want to add Events privileges to, then click Customize. The Customize Privileges page displays.
-
Scroll down to the Resources section, then check Events (along with any other privileges needed for the user). Click Save.
Add a New Event
- Navigate to the Events Management tile and click New Event. A New Event form displays.
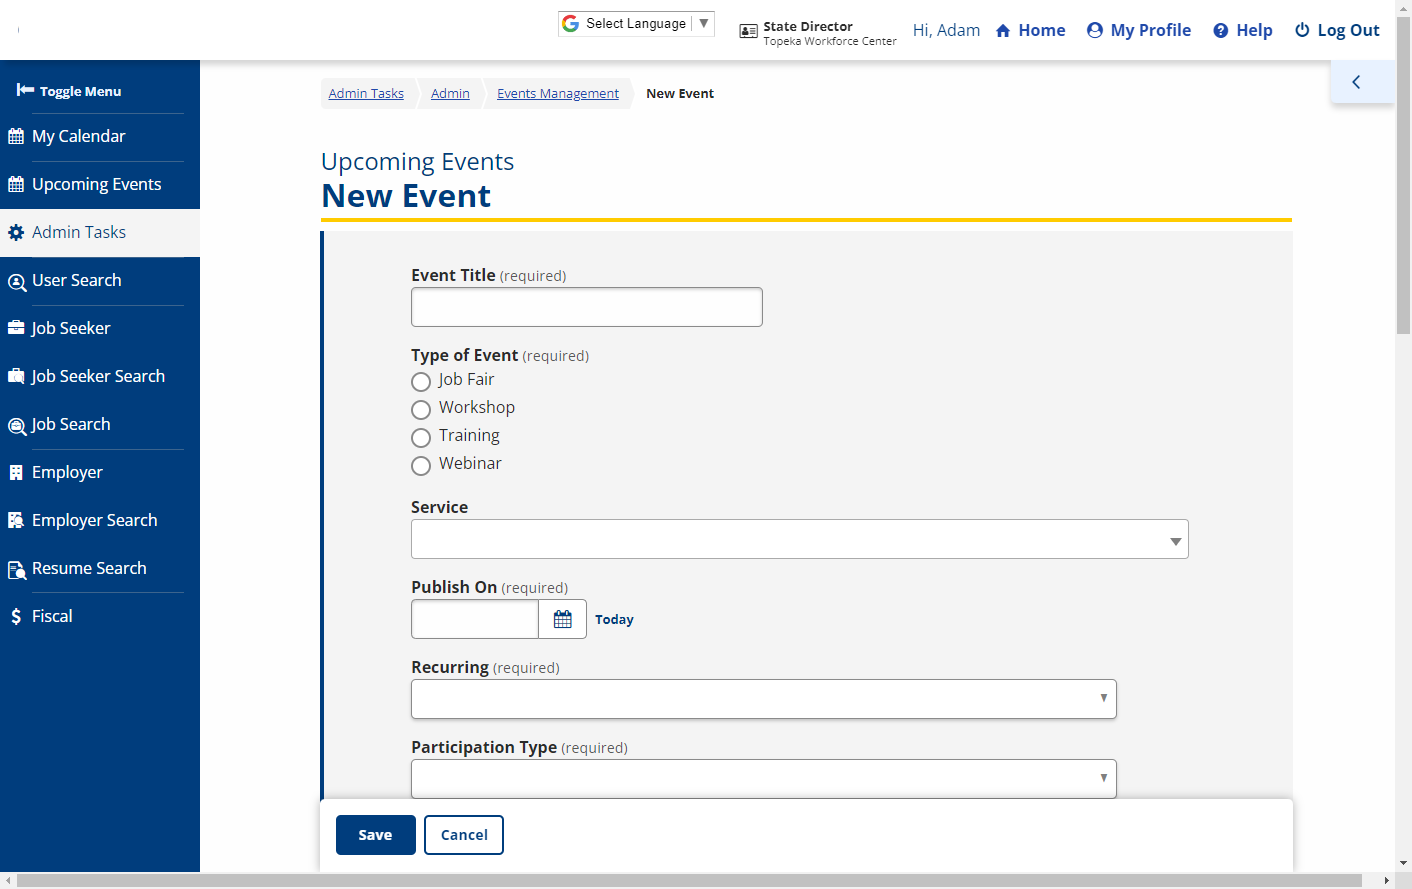
- Provide the following information:
- Event Title: Enter a name for the event.
- Type of Event: (Option buttons) Select the type of event (Job Fair, Workshop, Training, Webinar)
- Service: (Optional) If this Virtual Job Fair is related to a specific service, you may search for and select it in this field. When a job seeker registers for this event, this service will populate on their Service & Training list for their program enrollment, if applicable. Only active services are available to select.
- Publish On: Enter the date when this event should be published to the public calendar or click the calendar icon and select the date. Click the Today link to automatically enter today's date.
- Recurring: If this is a recurring event, select Yes; otherwise, select No. If Yes is selected, select the Recurrence Type (Daily, Weekly, or Monthly) and Recurrence end on date (date by which recurring events should end).
- Participation Type: Select In-Person, Virtual, or Both.
- If In-Person is selected, enter the Address information for where the event will be held.
- If Virtual is selected, enter the Website to event page where participants can access the event.
- If Both is selected, enter both the Address information and Website to event page.
- Seats: Enter the maximum number of attendees in this field (defaults to 1). This limits the number of attendees allowed to register for the event.
- Starts at/Ends at: Provide the date and time that the event will begin and end. You may enter the date manually or click the calendar icon and select the date. For the time, you may click the dropdown arrow and select from a list of 30-minute increments or enter the time manually.
- Description: Enter a detailed description of the event.
- Publish to Veterans early?: Select Yes if you want to give veterans early access to this event. This will publish the event to calendars of job seekers registered as veterans one day prior to the Publish On date. Otherwise, select No.
- Click Save.
View/Edit/Copy/Delete Event
- On the Events Management page, click the Edit button of the event you want to manage. The Edit Event page displays.
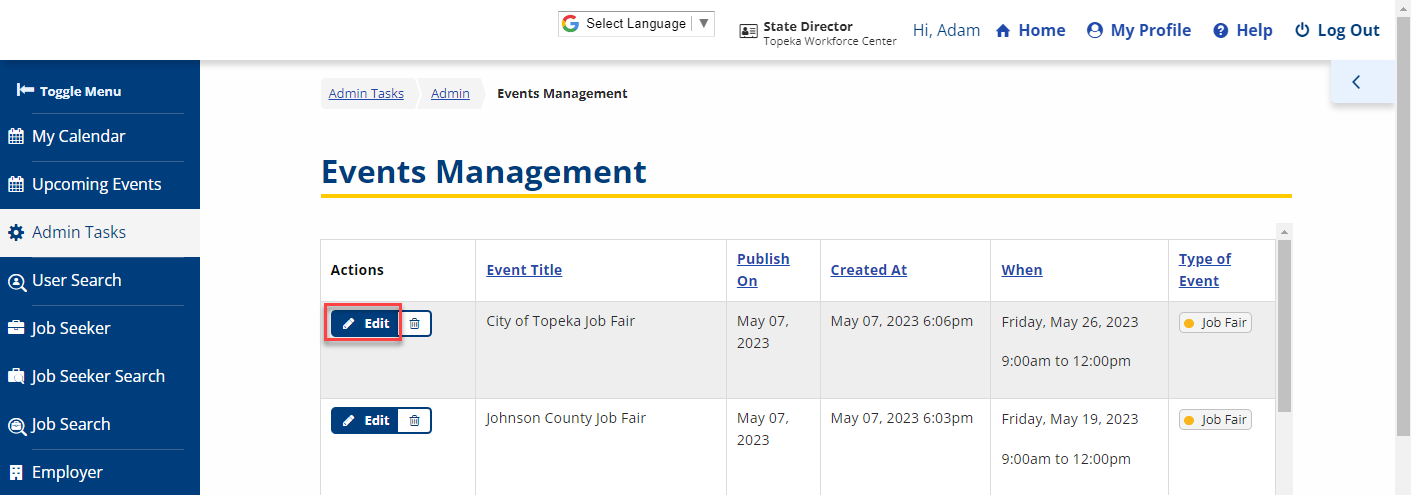
- Only events that are upcoming or currently in progress can be edited.
- Edit the information as desired.
- Click Save to update the event.
- Click Copy to copy all details from this event (except Starts At and Ends At date/times) into a new event form.
- Click Delete to remove the event from the system. This button does not display if there are already registered participants.
- Only events that are upcoming or currently in progress can be deleted.
Invite Job Seekers to an Event
Staff users can invite specific job seekers to events through their Calendar.
-
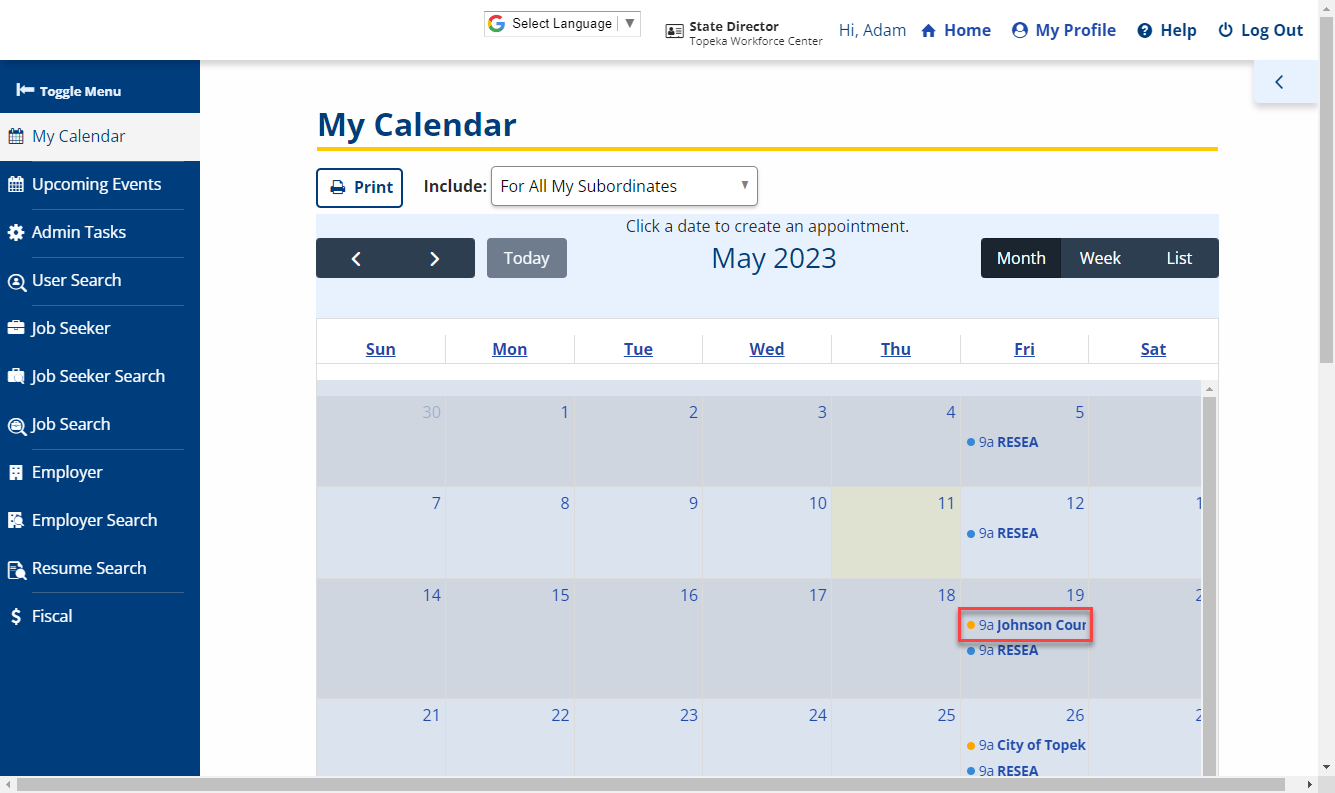
From the left menu, click My Calendar. The My Calendar page displays.
-
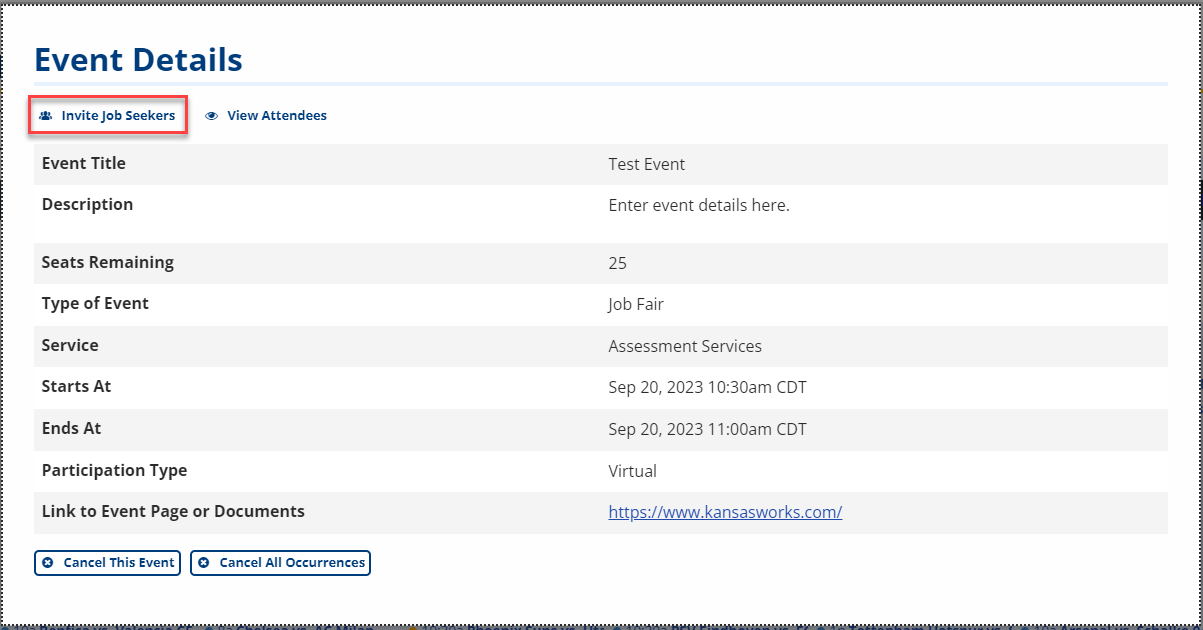
Click an event title to open the Event Details dialog. Events are indicated in yellow, while appointments are indicated in blue.
-
Click Invite Job Seekers.
-
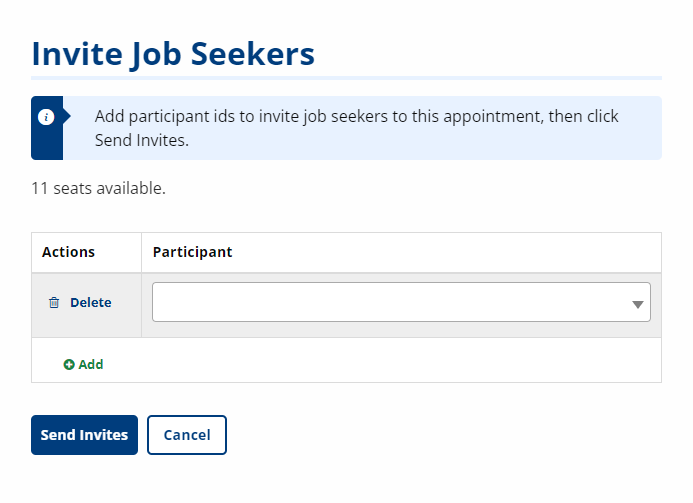
In the Invite Job Seekers dialog that displays, click the dropdown and enter the search text, then select the job seeker from the search results.
-
To invite an additional job seeker, click Add and repeat the previous step. To remove a job seeker from the invite, click Delete. You cannot invite more job seekers than there are available seats.
-
Once all job seekers are selected, click Send Invites. An invite is sent to each job seeker.
View/Delete Attendees from an Event
Staff users can view and delete event attendees through their Calendar.
-
From the left menu, click My Calendar. The My Calendar page displays.
-
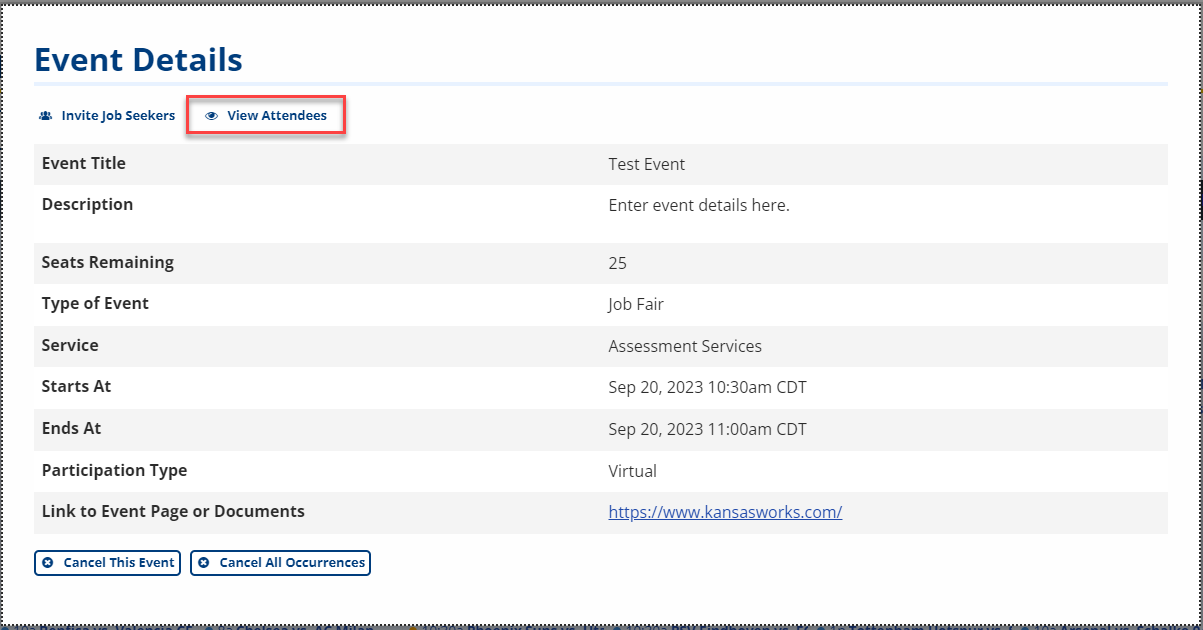
Click an event title to open the Event Details dialog. Events are indicated in yellow, while appointments are indicated in blue.
-
Click View Attendees.
-
The Attendees List appears and displays all invited attendees.
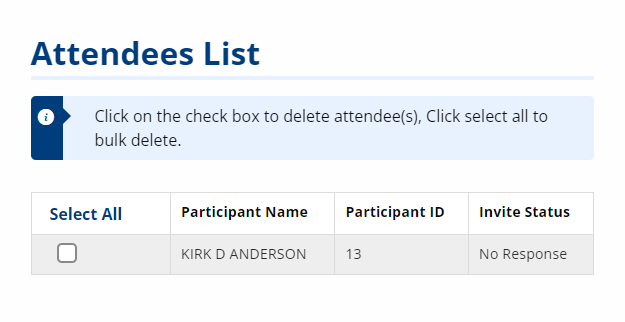
To delete an attendee, check the box next to the attendee you want to delete (or click Select All to select all attendees), then click Delete Selected Attendee(s). Click Continue in the confirmation dialog.
Cancel Event
Staff users can cancel individual events and cancel all occurrences of a recurring event if needed.
-
From the left menu, click My Calendar. The My Calendar page displays.
-
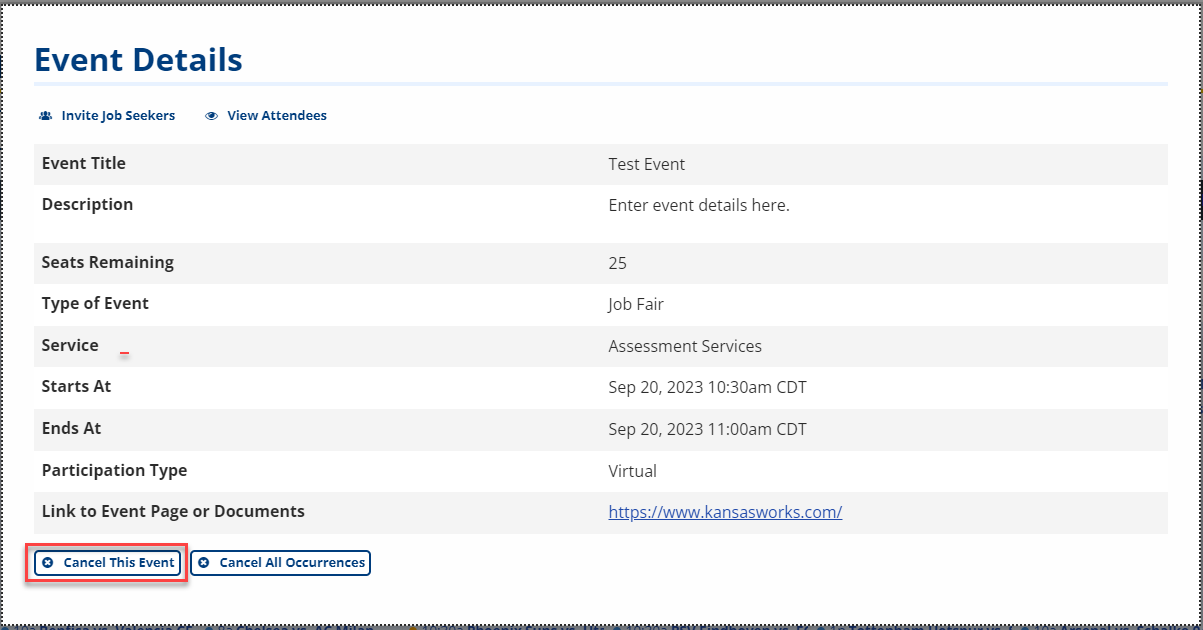
Click an event title to open the Event Details dialog. Events are indicated in yellow, while appointments are indicated in blue.
-
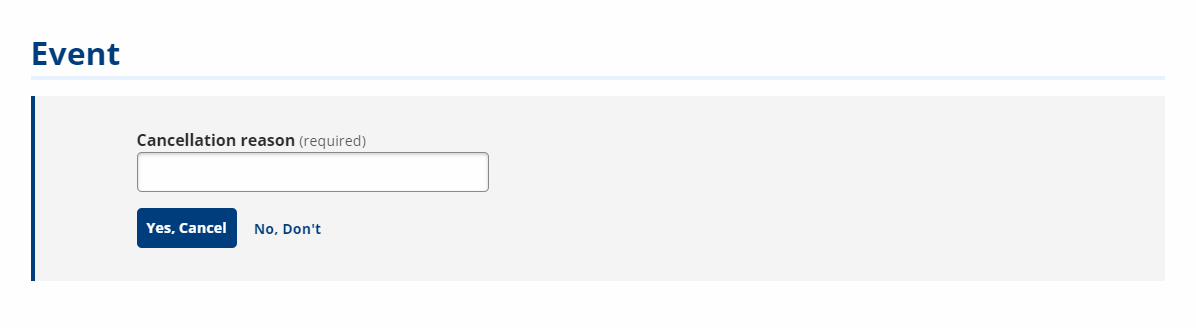
Click Cancel This Event. If the event is a recurring event and you want to cancel all occurrences, click Cancel All Occurrences.
-
In the Event dialog that displays, enter a Cancellation reason, then click Yes, Cancel to cancel the event. To close the Event dialog without canceling, click No, Don't.