Login Message
Approved staff can enter messages to display at login. The message can be set to display by user type.
View/Edit/Delete Login Message
- From the left-hand navigation menu, navigate to Admin Tasks > Admin tab > Login Messages tile. The Login Messages list displays.
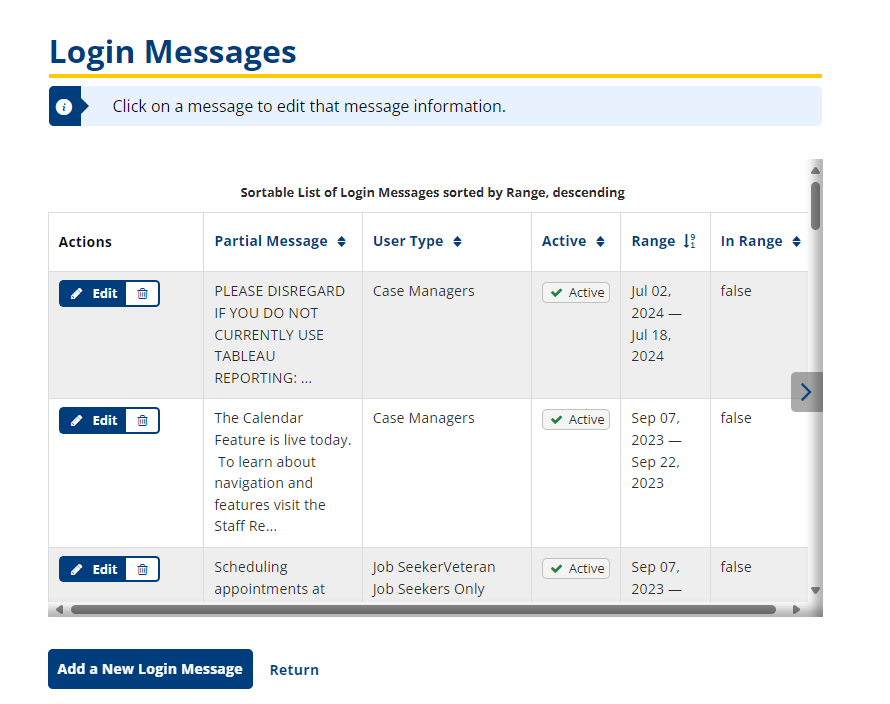
- Click the Edit button in the Actions column of the message you want to manage. The Edit Login Message page displays.
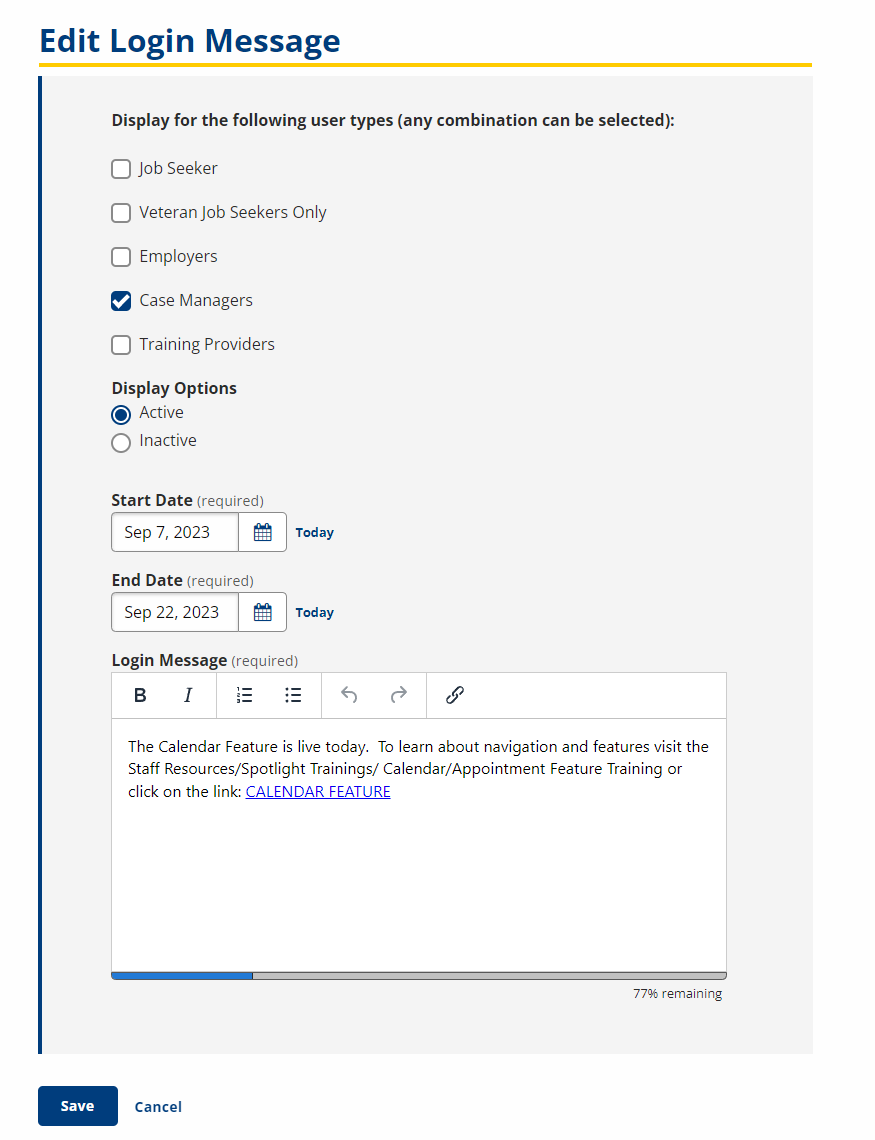
- Edit the information as desired.
- Click Save to update the message.
- Click the trash can icon in the Actions column to remove a message from the system.
Add Login Message
- From the left-hand navigation menu, navigate to Admin Tasks > Admin tab > Login Messages tile. The Login Messages list displays.
- Click Add a New Login Message. The New Login Message page displays.

- Provide the following information:
- Display for the following user types: Check Boxes; Select the user type(s) who will see the message upon login.
- Display Options: Option; Select Active to display the message or Inactive to make the message inactive.
- Start Date: Text/Calendar; Provide the date the message should begin displaying.
- End Date: Text/Calendar; Provide the date the message should stop displaying.
- Login Message: Text; Type the message as it should appear to the user. Basic text formatting is available.
- Click Save.
If the new message has the same user type and date range as another enabled message, an error message will display. You must select a different user type, date range, or the “Disable” display option to save the message.